
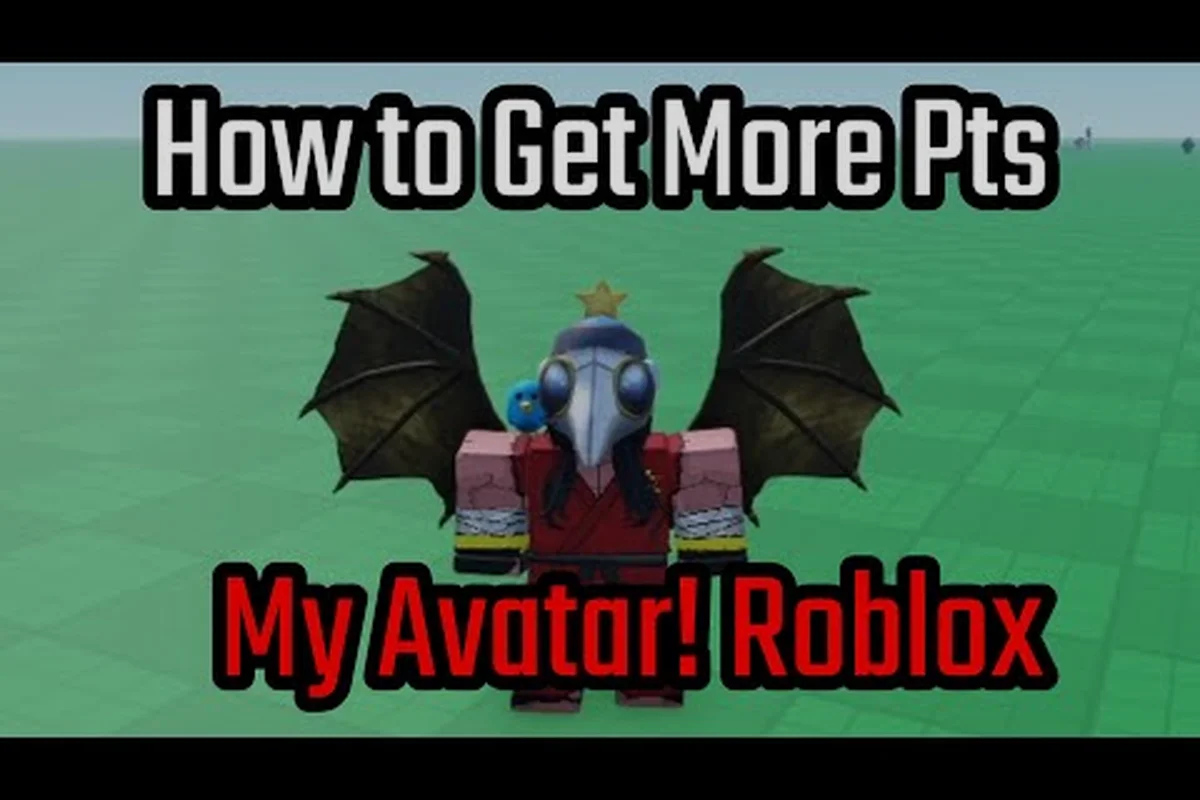
Every minute you spend hunting through My Avatar's interface is a minute you are not trying on community-made outfits or spending the Points you earned from shopping. This my avatar menu guide breaks down the settings, inventory, favorites, and avatar editor panels so you can move between saved looks without resetting your progress. The menu structure rewards players who learn its shortcuts, because the experience saves every purchase to your Roblox inventory automatically.
Understanding the Core Menu Layout
The main menu in My Avatar organizes every tool around a central shopping loop, and the layout stays consistent whether you are browsing the catalog or editing a saved outfit. When you first load the experience, the left-side navigation holds your primary panels, while the right side previews whatever item or outfit you currently have selected. This split-screen approach means you rarely need to leave the preview window to compare accessories, because the menu overlays selection tools directly on top of your avatar.
The top bar contains your Points balance, your current outfit name, and a quick-access button for the Point Store. Below that, the navigation tabs separate the experience into five core areas: Catalog, Inventory, Favorites, Avatar Editor, and Settings. Each tab remembers its own scroll position during a session, which helps when you are comparing dozens of community outfits without losing your place.
| Menu Panel | Primary Function | Key Actions |
|---|---|---|
| Catalog | Browse the full Roblox catalog | Search, filter, try on, buy |
| Inventory | View owned items and outfits | Equip, unequip, sort by type |
| Favorites | Access saved looks and items | Save, rename, quick-switch |
| Avatar Editor | Modify equipped items and colors | Adjust body parts, accessories, animations |
| Settings | Control audio, graphics, and account options | Toggle sound, adjust camera, redeem codes |
The menu also includes a Point Store shortcut that appears whenever you select an item you cannot afford yet. Tapping that shortcut opens a purchase flow where you can redeem codes or buy Points directly, and the interface keeps your current outfit preview visible in the background. Because the Point Store is integrated into the main menu rather than buried in a separate experience, you can top up your balance without losing your place in the catalog.
Managing Settings for a Smoother Experience
The settings panel in My Avatar controls more than just volume sliders, and understanding each option prevents the kind of mid-session frustration that sends players back to the Roblox home page. The panel splits into Audio, Graphics, Camera, and Account sections, with each section expanding into a vertical list of toggles and sliders. Most players only touch the audio settings on their first day, but the camera options matter just as much when you are trying to preview accessories from multiple angles.
Audio and Graphics Options
The audio section includes separate sliders for Music, Sound Effects, and UI Feedback, which means you can mute the background track while keeping the satisfying click sounds that confirm a purchase. The graphics section offers a Quality Preset dropdown with Low, Medium, and High options, plus a toggle for Reduced Motion that disables the subtle idle animations on the preview avatar. According to community reports, lowering the quality preset improves load times on older devices without affecting the catalog item thumbnails.
| Setting | Default | Recommended | Why It Matters |
|---|---|---|---|
| Music Volume | 80% | 40-60% | Reduces distraction while browsing |
| Sound Effects | 100% | 100% | Confirms purchases and equip actions |
| Quality Preset | High | Medium on mobile | Faster catalog loading |
| Reduced Motion | Off | On if sensitive | Less visual noise during previews |
| Camera Sensitivity | 50% | 60-70% | Faster angle changes in editor |
The account section stores your Roblox username, your current Points balance, and a link to the official Roblox inventory page. You can also access the code redemption box from this section, which is the same box that appears in the Point Store. Game Rant tracks active My Avatar codes and confirms that the redemption path always routes through the Point Shop purchase flow, so you do not need to memorize a separate menu location.
Camera and Preview Controls
The camera settings determine how the preview avatar responds to mouse or touch input, and the difference between a sluggish camera and a responsive one is immediately noticeable when you rotate an outfit to check its back details. The Orbit Mode toggle switches between free rotation and a locked side view, while the Zoom Range slider controls how close you can pull the camera to inspect small accessories like earrings or face details.
Players who spend a lot of time in the avatar editor should set camera sensitivity to at least 60%, because the default 50% feels slow when you are cycling through dozens of hair options. The Reset Camera button sits at the bottom of the camera section and instantly returns the preview to a centered, full-body view, which is useful after you have zoomed in too far on a single accessory.
Navigating the Inventory Panel
The inventory panel is where every purchase lands after you buy it from the catalog, and the panel's organization determines how quickly you can find a specific item later. My Avatar pulls your entire Roblox inventory into the experience, which means items you bought in other games also appear here and remain usable across every experience on the platform. The inventory splits into Clothing, Accessories, Body Parts, Animations, and Outfits tabs, with each tab supporting its own sort order.
| Inventory Tab | What It Contains | Sort Options |
|---|---|---|
| Clothing | Shirts, pants, jackets | Newest, A-Z, Price |
| Accessories | Hats, glasses, necklaces, wings | Newest, Type, A-Z |
| Body Parts | Heads, faces, skin tones | Newest, A-Z |
| Animations | Walk, run, idle, emotes | Newest, Type |
| Outfits | Saved full-body combinations | Last Used, A-Z |
The Outfits tab deserves special attention because it stores complete looks rather than individual items. When you save an outfit from the avatar editor, it appears here as a single card with a thumbnail, a custom name, and a one-tap equip button. This is the fastest way to switch between a casual look and a formal one without manually re-equipping every accessory, and the menu guide recommendation is to save at least three outfits for different scenarios.
Sorting and Filtering Your Items
The inventory panel includes a Search Bar at the top that filters items by name, which becomes essential once your collection grows past a few dozen pieces. Below the search bar, a Sort By dropdown changes the order of items within the active tab, and a Filter button narrows results by category, color, or rarity. These tools work together to prevent the endless scrolling that plagues players with large Roblox inventories.
The Newest sort order is the default and places your most recent purchases at the top, which makes sense when you are equipping something you just bought. The A-Z order helps when you remember an item's name but not its category, while the Price order is less useful in the inventory panel since you already own everything listed there. Players who frequently upload community outfits should check the outfit upload guide for tips on keeping their inventory organized.
Using Favorites to Switch Looks Quickly
The favorites panel functions as a shortcut layer on top of your inventory, and it solves the problem of scrolling through hundreds of items to find the ten you actually use. When you tap the heart icon on any item or outfit, it appears in the favorites panel immediately, and the panel loads faster than the full inventory because it only displays a curated subset. This my avatar favorites guide section explains how to build a rotation of go-to looks that you can switch between in seconds.
The favorites panel supports Custom Ordering, which means you can drag items into a priority sequence that matches how often you use them. Your most-worn outfit sits at the top, followed by seasonal looks and experimental combinations you are still testing. Because the favorites panel syncs with your Roblox account, the same curated list appears on any device where you play My Avatar.
| Favorites Action | How to Perform | Result |
|---|---|---|
| Add to Favorites | Tap heart icon on item/outfit | Item appears in Favorites panel |
| Remove from Favorites | Tap filled heart icon | Item returns to inventory only |
| Reorder Favorites | Drag item to new position | Priority order updates |
| Quick-Switch Outfit | Tap outfit card in Favorites | Full look equips instantly |
| Rename Outfit | Tap pencil icon on outfit card | Custom name saves to account |
The quick-switch behavior is the main reason to use favorites instead of the standard inventory tab. Tapping an outfit card in favorites equips every item in that look at once, while equipping the same outfit from the inventory requires opening the outfit, confirming the items, and waiting for each piece to load. The favorites panel skips the confirmation step entirely, which saves roughly five seconds per switch.
Building a Practical Favorites Rotation
A practical favorites rotation includes one default everyday outfit, one formal or themed look, and one experimental combination you are actively refining. This structure keeps the panel small enough to scan at a glance while still covering the situations where you actually change your avatar. Players who save more than five favorites often report that the panel becomes harder to navigate than the inventory it was meant to replace.
The catalog search tips guide covers the filter combinations that help you find items worth favoriting in the first place. Once you have a solid rotation, revisit it every few weeks to remove items you no longer use, because a stale favorites list defeats the purpose of the shortcut layer.
Mastering the Avatar Editor
The avatar editor is the most detailed panel in the my avatar menu guide, and it is where individual item selections become a cohesive look. The editor splits into Body, Clothing, Accessories, and Animations sub-panels, with each sub-panel showing a live preview of your avatar on the right side. Changes apply instantly, so you can experiment with different combinations without committing to a final look until you tap the Save Outfit button.
The Body sub-panel controls your avatar's head, face, skin tone, and body proportions. The Clothing sub-panel layers shirts, pants, and jackets in the correct visual order, while the Accessories sub-panel handles everything from hats to wings with a separate slot for each accessory type. The Animations sub-panel changes how your avatar moves in-game, including walk cycles, idle poses, and emotes.
| Editor Sub-Panel | Items Controlled | Save Behavior |
|---|---|---|
| Body | Head, face, skin tone, proportions | Saves to outfit |
| Clothing | Shirts, pants, jackets | Saves to outfit |
| Accessories | Hats, glasses, necklaces, wings | Saves to outfit |
| Animations | Walk, run, idle, emotes | Saves to outfit |
The editor includes an Undo button that reverses your most recent change, which is invaluable when you accidentally remove an accessory you wanted to keep. The Reset Look button clears all equipped items and returns your avatar to the default Roblox appearance, but it does not delete any saved outfits, so you can always restore a previous look from the favorites panel.
Saving and Naming Outfits
The Save Outfit button appears at the bottom of the editor and opens a naming dialog where you can enter a custom name up to 50 characters. The name appears on the outfit card in your inventory and favorites panel, so choose something descriptive rather than leaving the default timestamp. A name like "Casual Friday" is easier to find later than "Outfit 2026-09-20 14:32."
Saved outfits store every equipped item plus your avatar's body configuration, which means switching to a saved outfit also restores your skin tone and proportions. This is useful for players who maintain separate looks for roleplay scenarios, because the outfit system remembers more than just clothing. The beginner guide explains how to build your first complete look from scratch.
Optimizing Your Menu Workflow
The most efficient players treat the My Avatar menu as a pipeline rather than a collection of separate tools, and the workflow below reflects how experienced users chain actions together. The goal is to minimize the number of times you switch between panels, because each panel transition costs a second or two that adds up over a long browsing session.
| Workflow Step | Panel Used | Time Saved |
|---|---|---|
| Browse catalog with filters | Catalog | Avoids scrolling through irrelevant items |
| Try on item before buying | Catalog preview | Prevents wasted Points on bad fits |
| Buy item and auto-equip | Catalog | Skips manual equip step |
| Save current look as outfit | Avatar Editor | Creates reusable combination |
| Add outfit to favorites | Favorites | Enables one-tap switching later |
The Try On feature in the catalog is the single biggest time-saver in the entire menu, because it lets you preview any item on your current avatar before spending Points. The preview updates in real time as you rotate the camera, and you can try on multiple items simultaneously to see how they layer together. Only after you are satisfied with the combination should you commit to a purchase.
Keyboard and Mobile Shortcuts
Desktop players can use keyboard shortcuts to speed up menu navigation, although the shortcuts are not documented in the settings panel. The Tab key cycles through interactive elements, the Escape key closes the current overlay, and the arrow keys rotate the preview avatar when the editor is active. Mobile players rely on swipe gestures instead, with a two-finger swipe rotating the camera and a tap-and-hold opening the item detail overlay.
The official My Avatar Roblox page confirms that everything you buy saves to your Roblox inventory and works across every experience on the platform, which means your menu organization carries over to other games. This cross-experience compatibility is the strongest argument for investing time in a clean favorites rotation and descriptive outfit names.
Frequently Asked Questions
How do I access the settings menu in My Avatar?
The settings panel is one of the five main navigation tabs on the left side of the screen. Tap the gear icon or the Settings tab to open the panel, then expand the Audio, Graphics, Camera, or Account sections to adjust individual options. Changes save automatically to your Roblox account.
Where do purchased items go after I buy them?
Every purchase lands in your inventory panel under the appropriate tab, such as Clothing or Accessories. The item also appears in your Roblox inventory outside of My Avatar, because the experience syncs all purchases to your platform-wide account. You can equip items directly from the inventory panel.
How do I save an outfit for quick switching?
Open the avatar editor, equip the items you want, then tap the Save Outfit button at the bottom of the panel. Enter a descriptive name and confirm. The outfit appears in your inventory and can be added to favorites for one-tap switching from the favorites panel.
Can I redeem codes from the menu?
Yes, the code redemption box is accessible from both the Point Store and the Account section of the settings panel. Paste a working code into the Enter Code Here box to receive free Points, which you can then spend on catalog items. Active codes are tracked by Game Rant and other community sources.
Does the favorites panel sync across devices?
Yes, favorites sync with your Roblox account, so the same curated list appears on any device where you play My Avatar. The custom ordering also syncs, which means your most-used outfits stay at the top regardless of whether you are on desktop or mobile.