
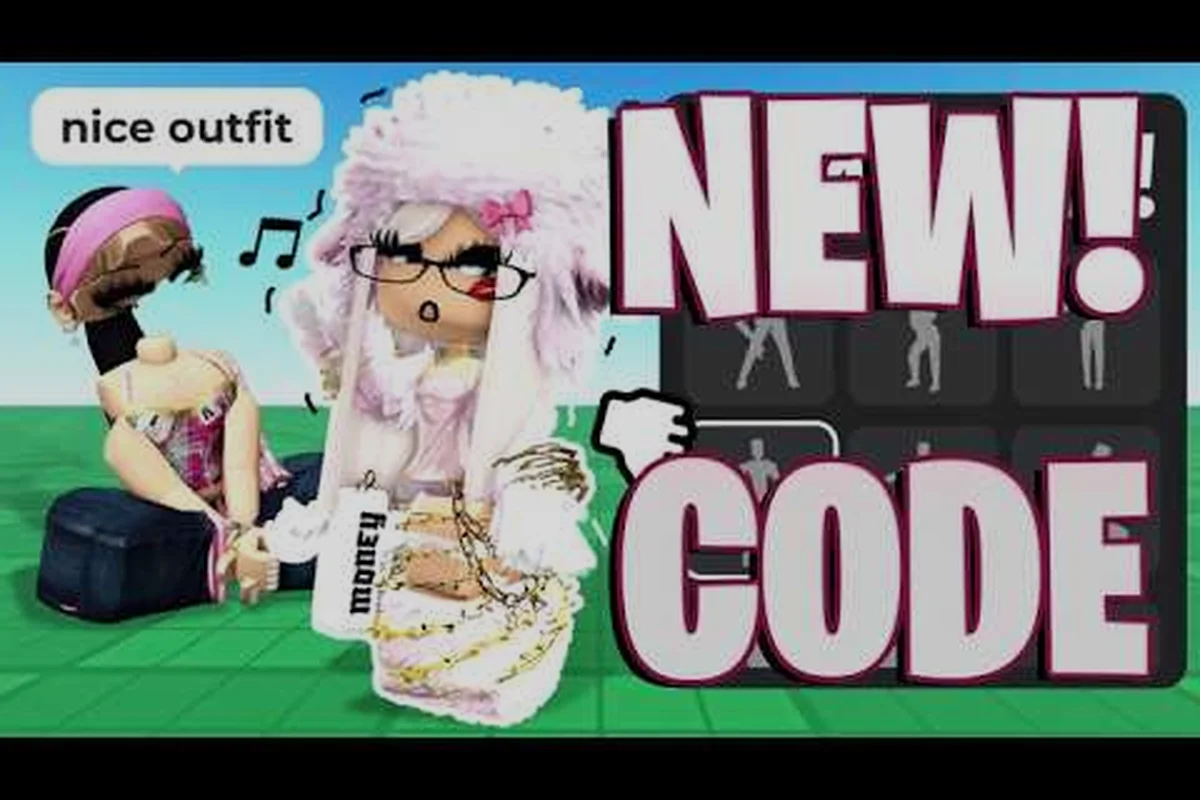
Layering clothes in My Avatar transforms a basic Roblox character into a curated look, yet most players only scratch the surface of the catalog's potential. These my avatar tips and tricks focus on the mechanics that actually matter: equipping items cleanly, previewing pieces before committing, and stacking layers without clipping or visual noise. The result is a signature style that reads as intentional rather than randomly assembled, which is exactly what separates memorable avatars from forgettable ones in a sea of 415 million visits.
Understanding the Equip and Preview Flow
The core loop in My Avatar revolves around two distinct actions that new players often conflate: equipping an item and trying it on. Equipping writes the item directly to your Roblox inventory and applies it to your character, while trying on creates a temporary preview that disappears when you leave the experience. Knowing when to use each action saves you from committing to pieces you do not actually want, and it also prevents the frustration of losing a look you were still experimenting with.
How to Equip Items Without Losing Your Current Look
The equip action is permanent by design, which means you need a clear mental model before clicking. When you select an accessory, shirt, or pants from the catalog and hit the equip button, the game immediately writes that item to your Roblox inventory and swaps it onto your avatar. This is useful for pieces you already know you want, but it can disrupt a carefully layered outfit if you are not paying attention.
| Action | What Happens | Best Use Case |
|---|---|---|
| Equip | Item saves to inventory and applies instantly | Committing to a piece you already tested |
| Try On | Temporary preview only, no inventory write | Testing colors, layering, or fit before deciding |
| Unequip | Removes item from current avatar but keeps it in inventory | Clearing a layer without deleting the asset |
The distinction matters because My Avatar does not have an undo button for equip actions. If you equip a jacket over a shirt and decide the jacket does not work, you need to manually unequip the jacket rather than reverting to a previous state. Players who treat the try-on mode as their default workflow report far fewer accidental inventory clutter issues, according to community discussions around the experience's catalog tools.
How to Try On Clothes for a Risk-Free Preview
The try-on mechanic is the single most underused feature in My Avatar, and it is also the one that unlocks confident layering. When you browse the full Roblox catalog inside the experience, every item supports a preview state that lets you see exactly how a piece sits on your current avatar before you commit. This is especially valuable for layered outfits because clipping between meshes is only visible in the actual preview, not in the static catalog thumbnail.
To try on clothes effectively, start with your base layer already equipped, then browse accessories or outerwear and activate the preview for each candidate piece. Because the preview renders in real time on your actual avatar model, you can rotate the camera and check for clipping around the shoulders, waist, and head. The official My Avatar experience page describes this as a core shopping flow, and the community has built entire styling routines around the preview-first approach.
Hidden Features That Change How You Layer
Beyond the basic equip and preview actions, My Avatar includes several hidden features that most players never discover because they are not surfaced in the main UI. These features directly impact how cleanly you can layer clothes, and mastering them is what elevates a decent outfit into a polished one. The Point Store, for example, is not just a rewards shop—it is also a testing ground for accessories you might not otherwise consider.
The Point Store as a Free Layering Lab
The Point Store contains over 100 free accessories that you can unlock with Points earned from shopping in the experience. What most players miss is that these free items are perfect for experimenting with layering techniques because they cost nothing but a little time. You can test how a free scarf interacts with a paid jacket, or how a free hat stacks with a paid hair accessory, without risking any Robux on pieces that might clip.
| Point Store Strategy | Why It Works | Layering Benefit |
|---|---|---|
| Unlock free accessories first | Zero Robux risk | Test layer interactions safely |
| Mix free and paid pieces | Expands combination options | Find unexpected pairings |
| Use Points from shopping | Earn while browsing | Build a test library passively |
Community reports consistently highlight the Point Store as an underrated resource for outfit experimentation. Because the free accessories use the same mesh and attachment systems as paid items, the clipping behavior you observe with free pieces translates directly to paid ones. This makes the Point Store a legitimate sandbox for learning how different accessory categories interact when layered.
The Community Outfit Showcase
Another hidden feature is the community-made outfit showcase, which lets you browse complete looks assembled by other players and try them on as a single unit. This is not just a gallery—it is a reverse-engineering tool for layering. When you preview a community outfit, you can see exactly which pieces the creator stacked together, and you can then swap individual components to make the look your own.
The value here is structural: community outfits reveal layering patterns that work, such as which jacket styles sit cleanly over which shirt types, or which hair accessories do not clip with popular hat meshes. The outfit creation guide covers how to build coordinated looks from scratch, but browsing the showcase first gives you a reference library of proven combinations to iterate on.
Building a Layering System That Does Not Clip
Layering clothes in My Avatar is not just about piling on more pieces—it is about understanding which categories stack cleanly and which ones fight for the same attachment points. The Roblox avatar system assigns specific attachment nodes to different accessory types, and when two pieces target the same node, you get clipping or visual overlap. Knowing these categories ahead of time lets you layer aggressively without the mess.
Accessory Categories and Their Attachment Behavior
The key insight is that My Avatar pulls from the full Roblox catalog, which means every item follows Roblox's standard attachment rules. Hats, hair, and face accessories all anchor to the head, while jackets, shirts, and pants anchor to the torso. The layering challenge comes from stacking multiple items within the same anchor zone, because the game does not automatically offset them for you.
| Layer Category | Anchor Point | Stacking Behavior |
|---|---|---|
| Hair | Head | Replaces or overlaps other hair |
| Hat | Head | Sits above hair, may clip with tall styles |
| Face Accessory | Face | Independent of hats and hair |
| Shirt | Torso | Base layer, always visible under jackets |
| Jacket | Torso | Overlays shirt, may clip at shoulders |
| Pants | Legs | Independent of torso layers |
The cleanest layering strategy is to pick one dominant piece per anchor zone and treat everything else as an accent. For example, choose a hat as your head anchor, then add a face accessory that does not compete for the same space. When you do stack within a zone, test the combination in try-on mode first because clipping is only visible in the live preview, not in catalog thumbnails.
Color Coordination as a Layering Shortcut
Layering is not only about mesh compatibility—it is also about color harmony. A well-layered outfit with clashing colors looks worse than a simple outfit with a tight palette. The most reliable approach is to pick a base color, a secondary color, and one accent color, then ensure every layer you add pulls from that three-color set. This creates visual cohesion even when the individual pieces come from completely different creators.
Players who build outfits around a limited palette report that their layered looks read as intentional rather than busy. The trick is to use the try-on preview to check how colors interact under the game's lighting, because some catalog items render slightly differently in the experience than in the static thumbnail. A jacket that looks navy in the catalog might read as almost black in-game, which can throw off your entire palette if you are not checking the live preview.
Advanced Layering Techniques for Signature Looks
Once you understand the basic mechanics, the real fun begins: using My Avatar's tools to create looks that feel uniquely yours. The most effective advanced techniques involve deliberate asymmetry, strategic accessory placement, and using the Point Store to fill gaps in your layering toolkit. These approaches require more time in the preview mode, but the payoff is an avatar that people actually remember.
Asymmetry and Focal Points
Most players layer symmetrically by default, which produces balanced but forgettable outfits. Introducing a single asymmetric element—a one-shoulder jacket, an off-center accessory, or a hat tilted to one side—immediately makes the look more dynamic. The key is to keep the asymmetry intentional: one focal point per outfit, with the rest of the layers supporting that focal point rather than competing with it.
A practical workflow is to start with a symmetric base, then add one asymmetric piece and evaluate the result in try-on mode. If the asymmetric piece creates visual tension that feels deliberate, keep it. If it just looks like a mistake, swap it for a symmetric alternative. This iterative approach is faster than trying to plan a complex layered outfit from scratch, and it produces better results because you are responding to the actual render rather than an imagined one.
Using the Point Store to Fill Layering Gaps
The Point Store's free accessories are not just for beginners—they are also a strategic resource for advanced layering. When you need a specific accessory type to complete a layered look but do not want to spend Robux on a piece you might only use once, the Point Store often has a free alternative that fills the same visual role. This is especially useful for accent pieces like scarves, glasses, or small hats that complete an outfit without being the focal point.
| Layering Need | Point Store Solution | Why It Works |
|---|---|---|
| Neck accent | Free scarf or necklace | Adds depth without torso clipping |
| Face detail | Free glasses or mask | Independent anchor, no head competition |
| Head accent | Free small hat or hair pin | Sits cleanly above most hair styles |
| Waist detail | Free belt or sash | Breaks up torso monotony |
The beginner guide walks through the Point Store redemption flow in detail, but the layering-specific takeaway is that free accessories let you experiment with category combinations you might not otherwise try. When a free piece works in a layered outfit, you can then invest in a premium version of the same category with confidence.
Avoiding Common Layering Mistakes
Even experienced players fall into predictable traps when layering clothes in My Avatar. The most common mistakes stem from treating the catalog like a checklist rather than a styling tool, which leads to outfits that are technically layered but visually chaotic. Recognizing these patterns ahead of time saves you from wasting Points and Robux on combinations that do not work.
The Over-Layering Trap
More pieces do not automatically mean a better outfit. The most frequent mistake is stacking three or four items in the same anchor zone—multiple hats, overlapping jackets, or stacked face accessories—which produces clipping and visual noise. The fix is to impose a hard limit: no more than one dominant piece per anchor zone, with accents only where they add clear value.
A useful self-check is to remove one layer from any outfit you build and see if the look improves. If removing a piece makes the outfit cleaner without losing its identity, that piece was probably unnecessary. This subtractive approach is counterintuitive for players who equate effort with quality, but it consistently produces better results in practice.
Ignoring the Live Preview
The catalog thumbnail is not the outfit. Many players equip items based on how they look in the static catalog image, only to discover that the piece clips or renders differently on their actual avatar. The fix is simple: always use the try-on preview before equipping, and rotate the camera to check for clipping at the shoulders, waist, and head. This habit alone eliminates most layering disappointments.
The outfit saving guide covers how to preserve your finished looks once you have them dialed in, but the preview-first workflow is what gets you to a finished look worth saving. Treat the try-on mode as your default state, and only equip when you are confident the piece earns its place in the layered composition.
Frequently Asked Questions
What are the best my avatar tips and tricks for beginners?
Start with the try-on preview for every piece before equipping, because it lets you test layering without committing. Unlock free Point Store accessories to build a testing library, and limit yourself to one dominant piece per anchor zone. This approach prevents clipping and inventory clutter while you learn the catalog's attachment behavior.
How do I equip items in My Avatar without messing up my current outfit?
Use the try-on mode first to verify the piece works with your existing layers, then equip only when you are confident. The equip action writes directly to your Roblox inventory and applies instantly, so there is no undo. If a piece disrupts your look, manually unequip it rather than trying to revert.
Can I layer multiple jackets or hats in My Avatar?
Technically yes, but stacking multiple pieces in the same anchor zone usually causes clipping because the game does not auto-offset them. The cleaner approach is one dominant piece per zone—one hat, one jacket—with accents in different zones. Test any same-zone stacking in try-on mode before committing.
How do I make outfits that look intentional rather than random?
Pick a three-color palette and ensure every layer pulls from it. Add one asymmetric focal point per outfit, and use the community showcase to study proven layering patterns. The subtractive check—removing one layer to see if the look improves—keeps your outfits from becoming visually noisy.
Does the Point Store help with layering clothes?
Yes, the Point Store's 100+ free accessories are ideal for testing layer interactions without spending Robux. Free pieces use the same attachment system as paid items, so clipping behavior translates directly. Use free accessories to fill accent roles like scarves, glasses, or small hats in a layered composition.